This guide explains how to send a document for eSignature, ensuring that the conveyancer-certified eSignature process was followed and that an additional identity check was applied.
How to send the document
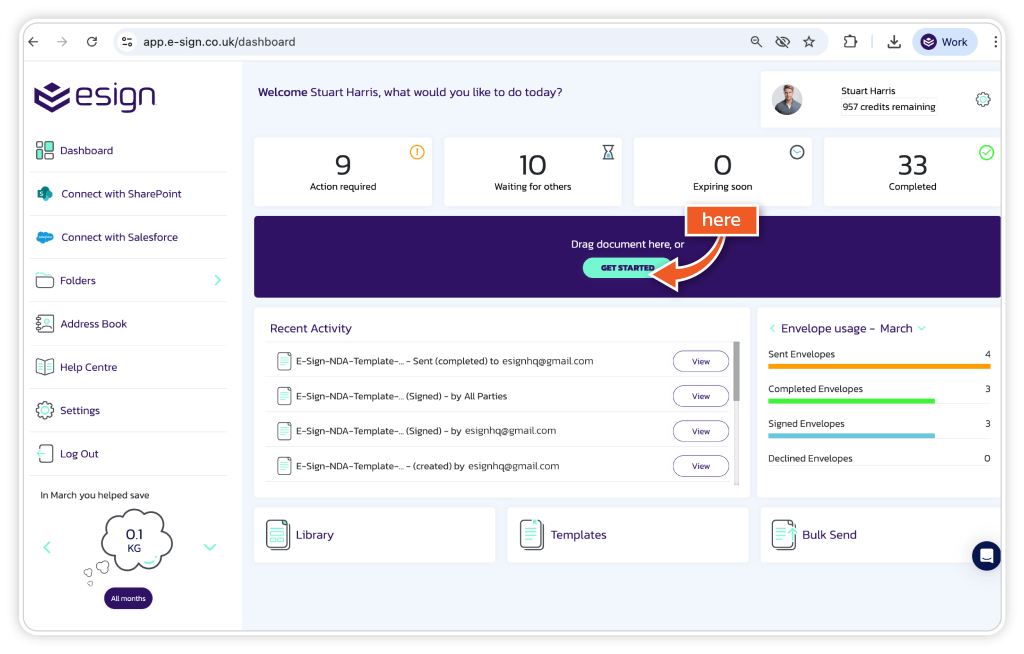
1. Use a template or click ‘Get Started’
Begin by selecting an existing template or clicking ‘Get Started’ to create a new envelope.
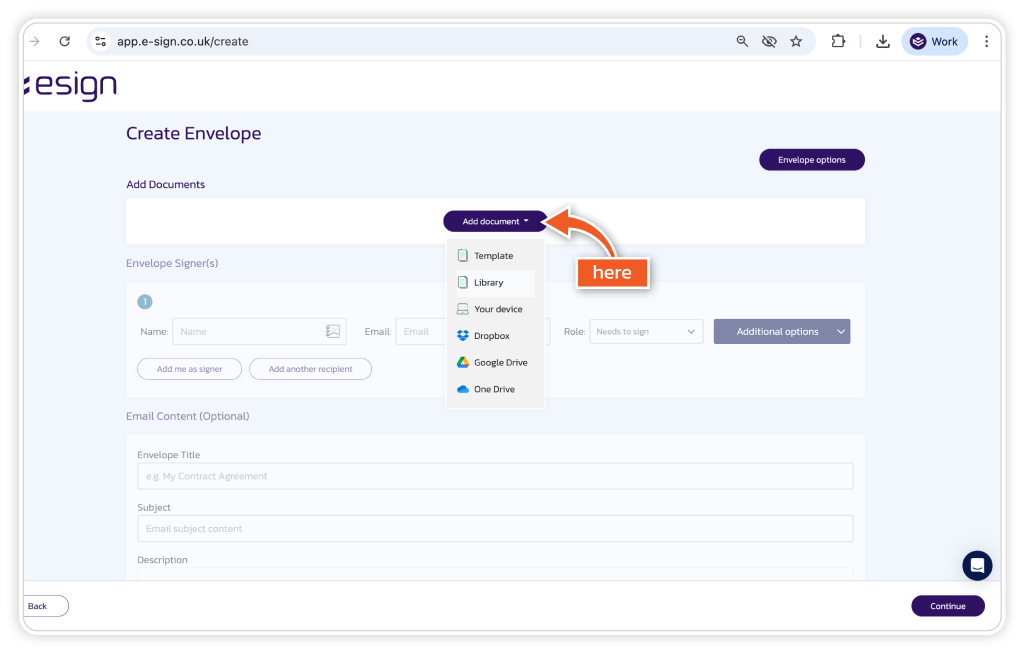
2. Upload the document
Upload the document that needs to be signed. Ensure the document is final, as changes to the document cannot be made once the envelope has been sent.
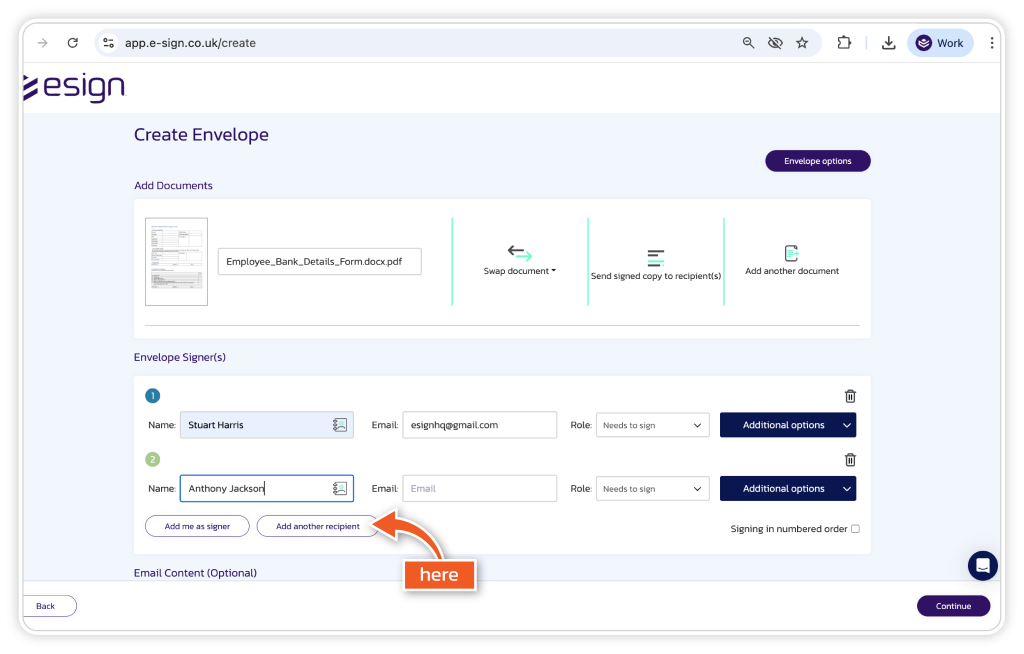
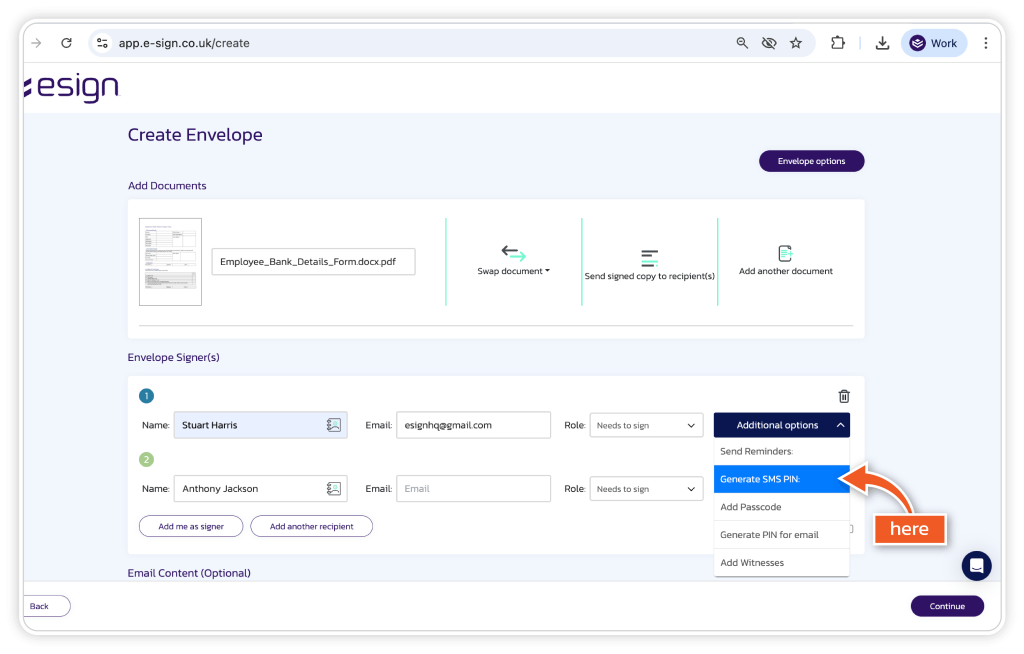
3. Add signers
Add all required signers to the envelope. Make sure the signers are added in the correct order if the signing sequence is important.
4. Click ‘Additional Options’ for each signer
For each signer, click ‘Additional Options’ and ‘Generate SMS PIN’ to enable SMS PIN protection.
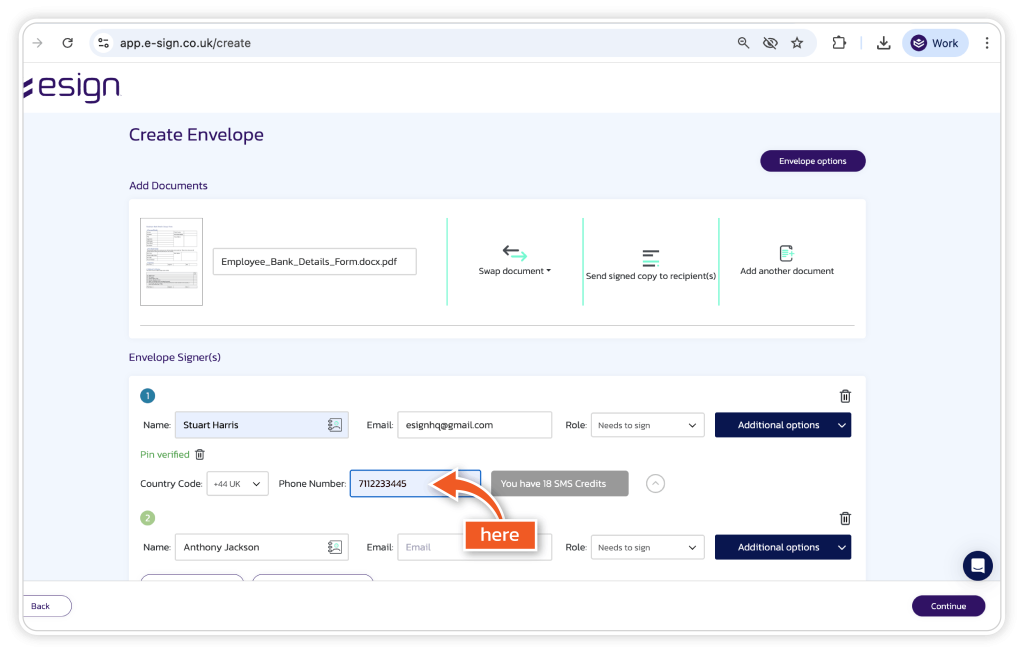
5. Add the correct phone number
Ensure the phone number for each signer is added correctly. This number will be used to send the SMS PIN required to access the document.
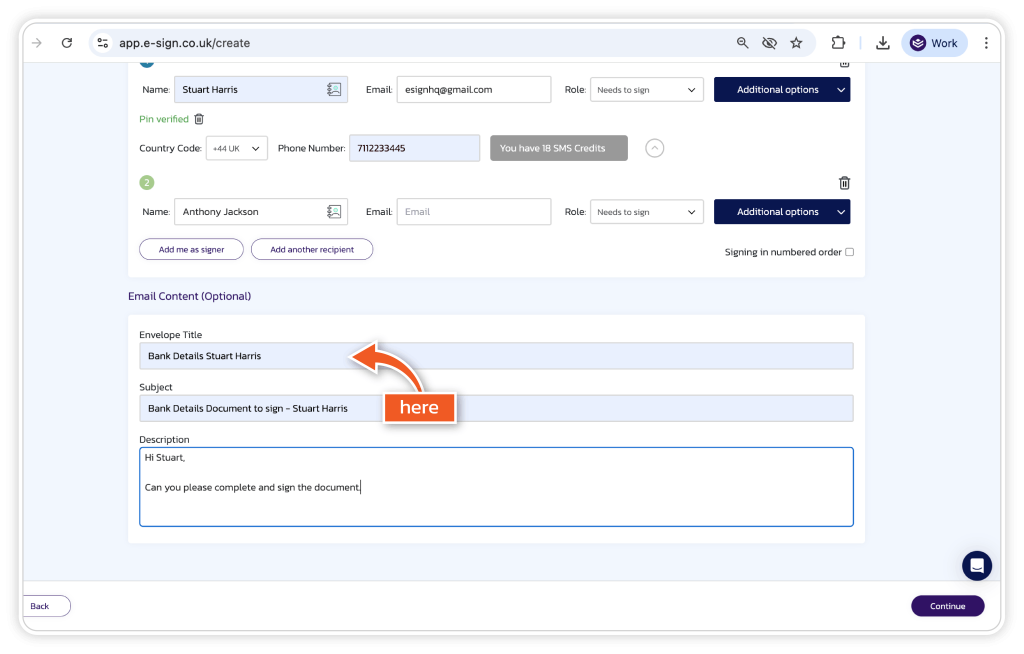
6. Complete email content
Review and customise the email subject and message if required.
7. Click ‘Continue’
Once all signer details and options have been completed, click ‘Continue’ to move to document preparation.

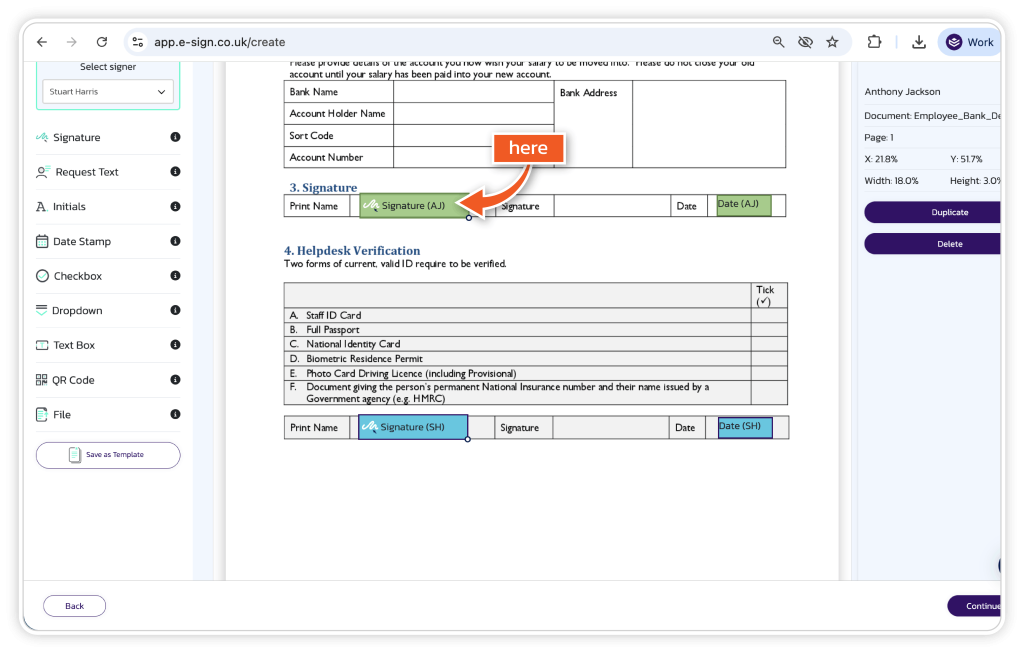
8. Add the required fields
Place all necessary fields onto the document, such as:
- Signature field
- Date stamp
- Text or checkbox fields
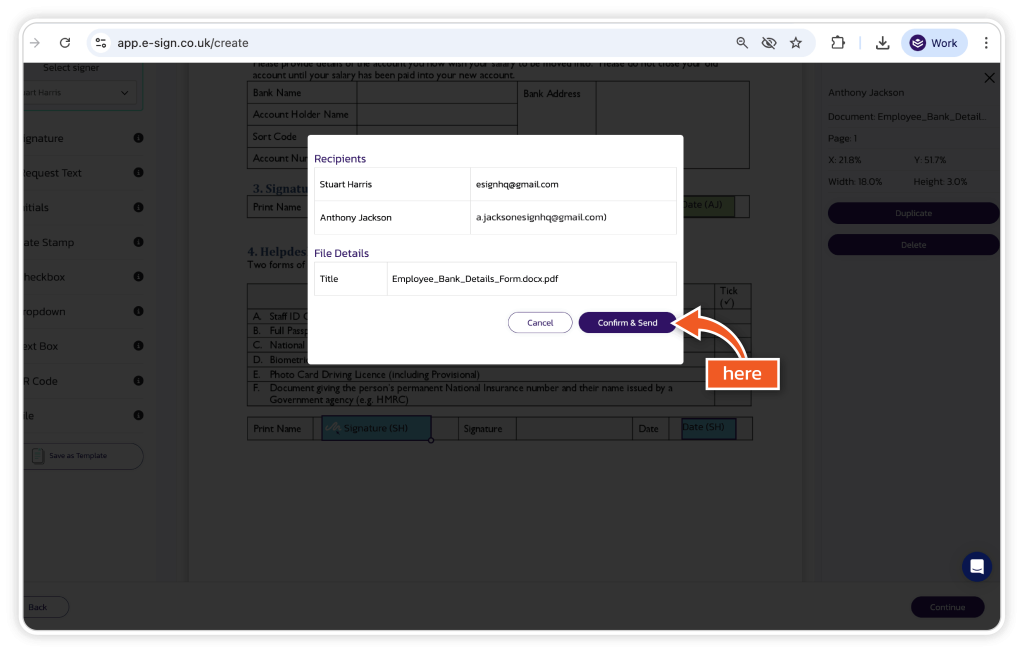
9. Send the document
Review the document again, then click ‘Confirm and send’.
How to sign the document
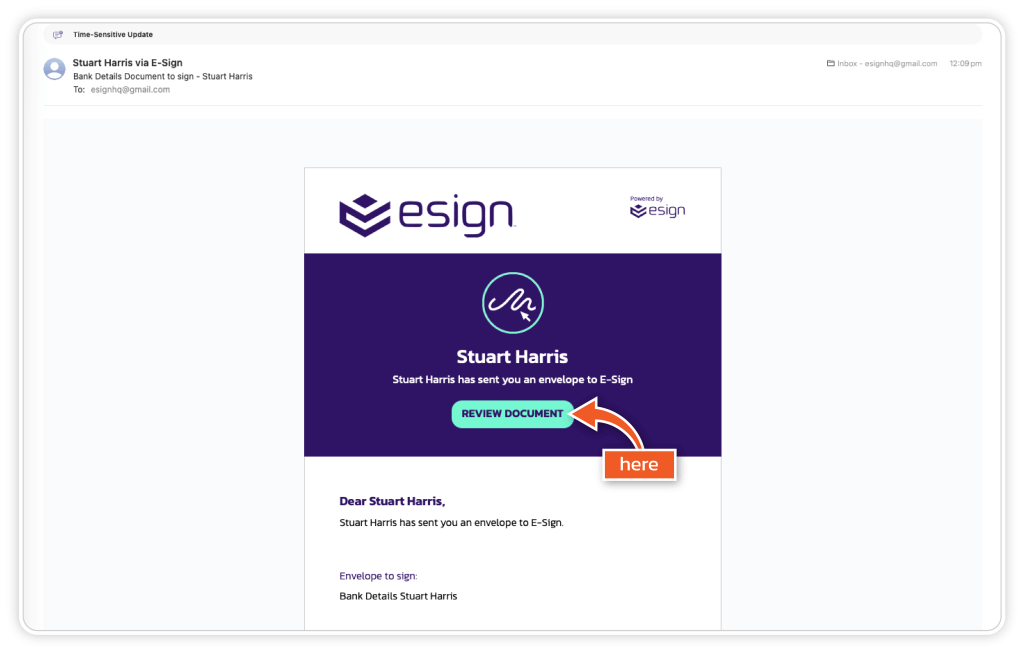
1. Click on ‘Review Document’
Open the email invitation and click ‘Review Document’ to begin.
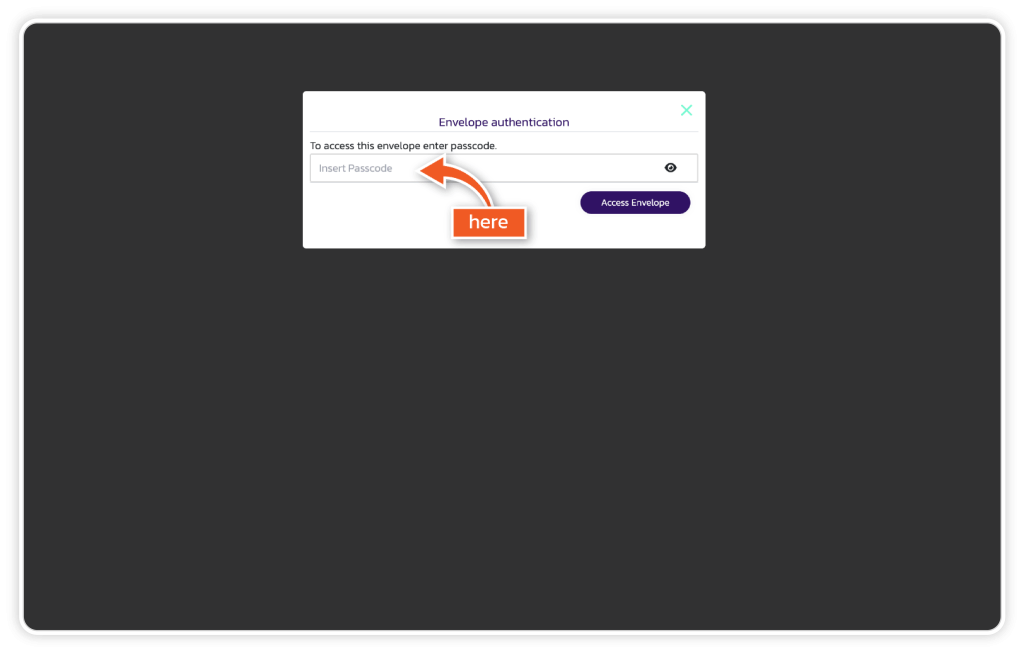
2. Add the PIN code received to access the document
Enter your phone number to receive a PIN code by SMS. This must be entered to securely access the document.
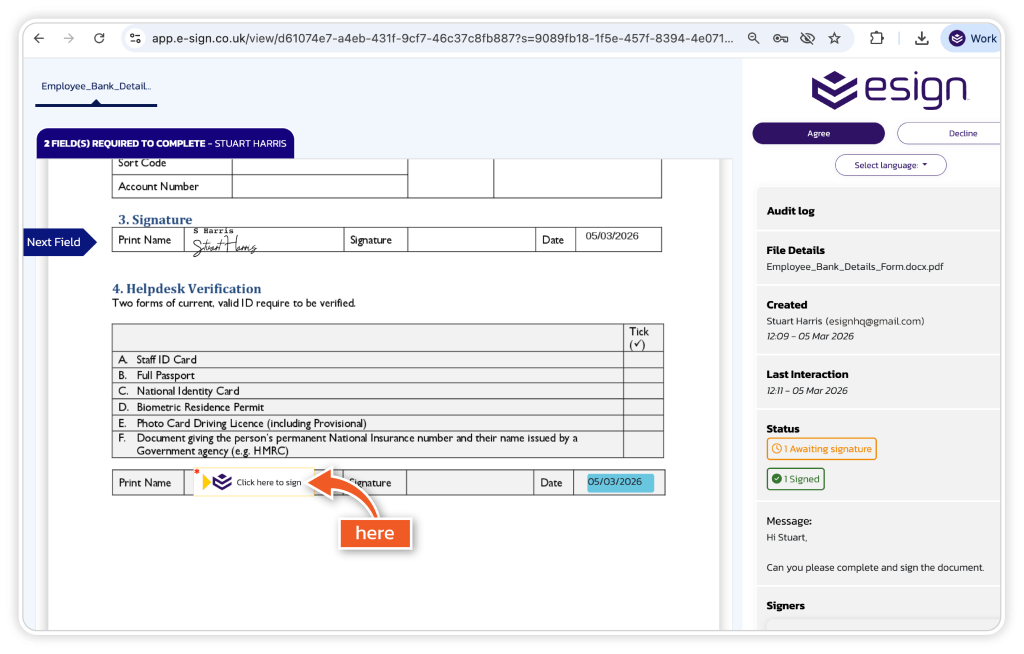
3. Complete the fields and sign
After accessing the document, complete all assigned fields and apply your signature in the required field.
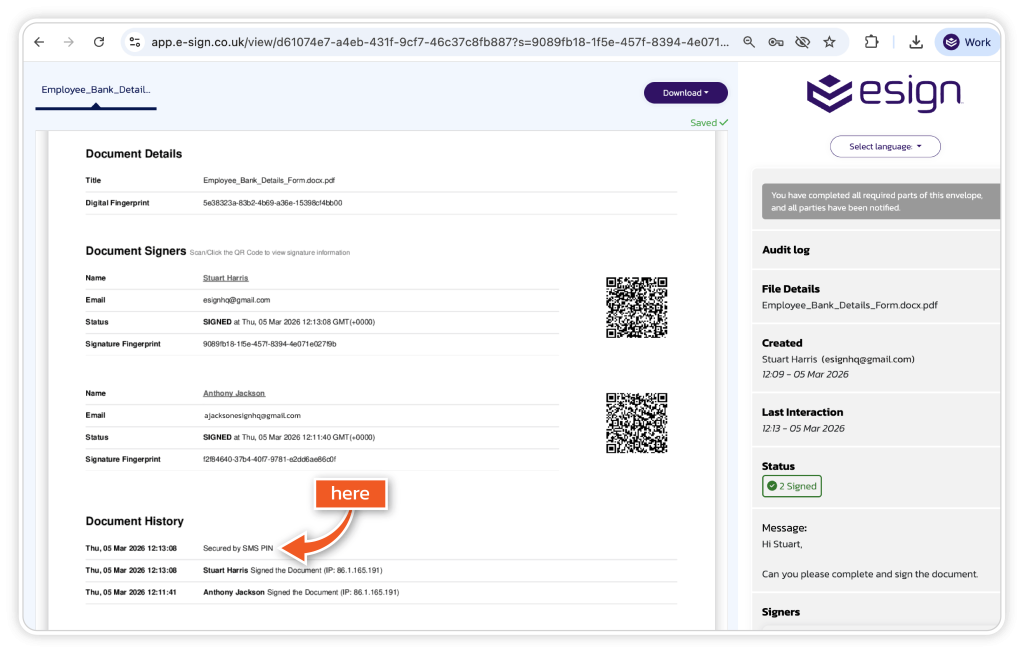
Certificate and security confirmation
On the certificate page, the completed document shows that it is secured with SMS PIN verification.