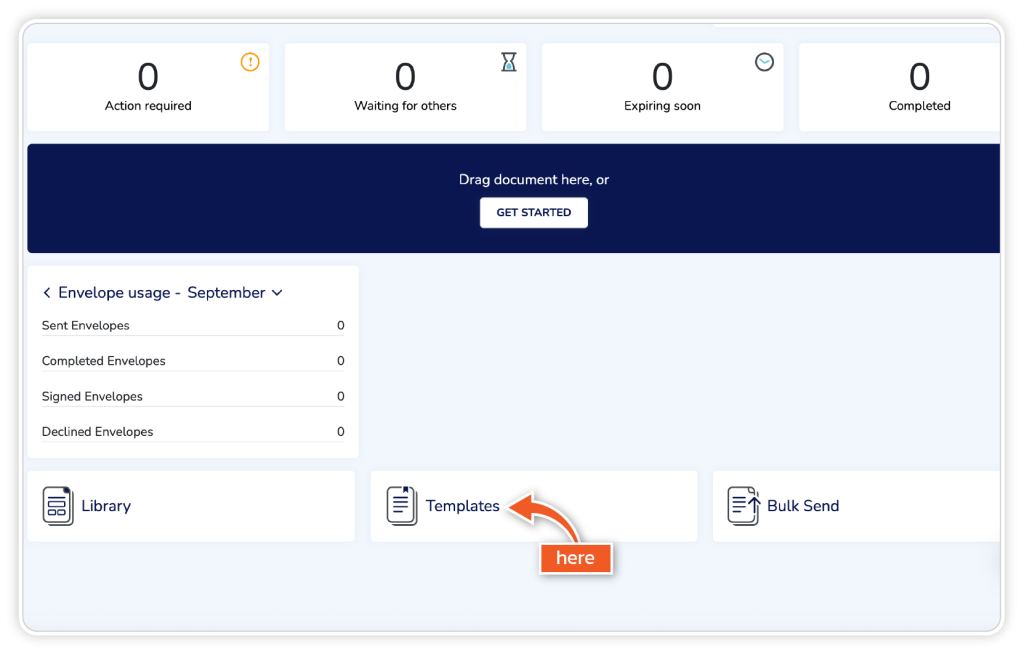
Step 1
From the dashboard, go to ‘Templates’.
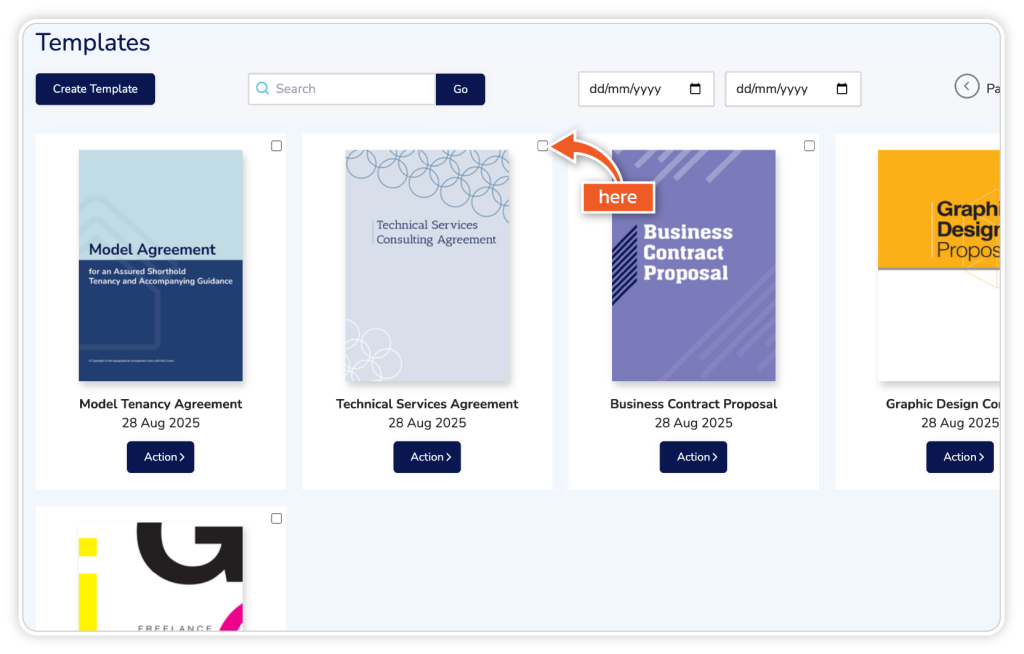
Step 2
Locate the pre-built template you would like to use from the selection in your library.
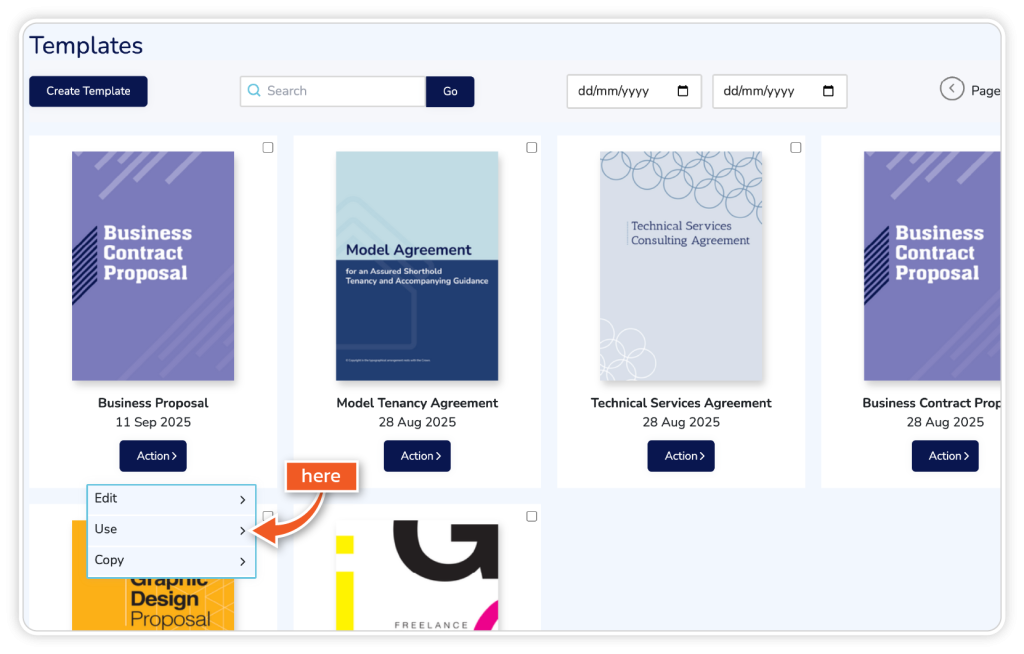
Step 3
Click ‘Action’ and choose ‘Use’ from the options.
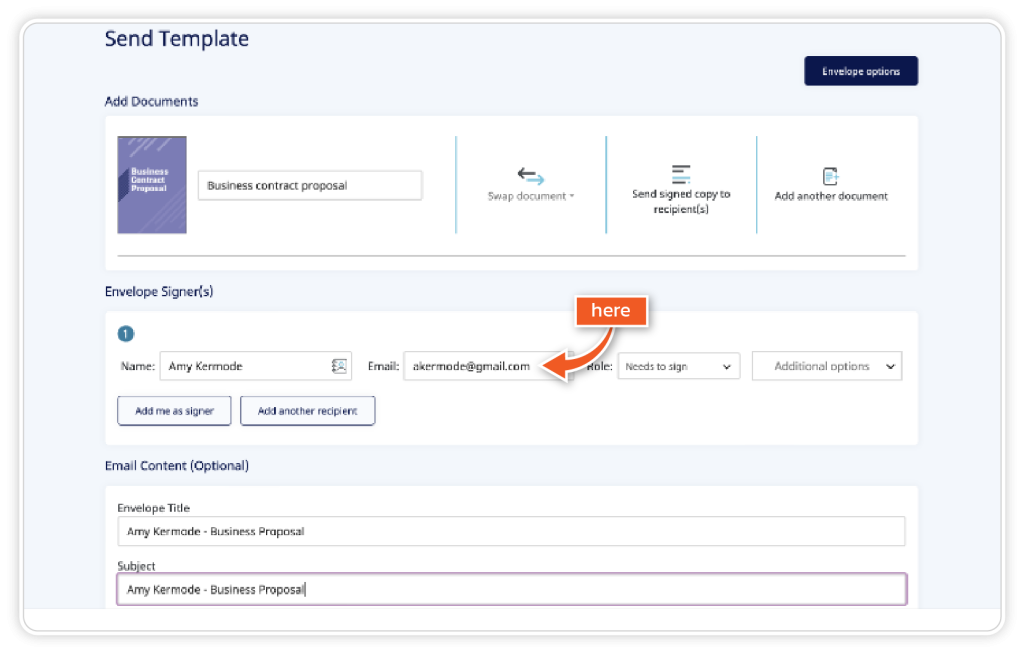
Step 4
Here you can name the document, add recipient details, and enter the envelope content such as title, subject and description. The envelope content will be shown to the recipient in the email they receive, along with the document link. You also have the option of adding up to 10 additional documents for signature to the envelope by clicking ‘Add another document’.
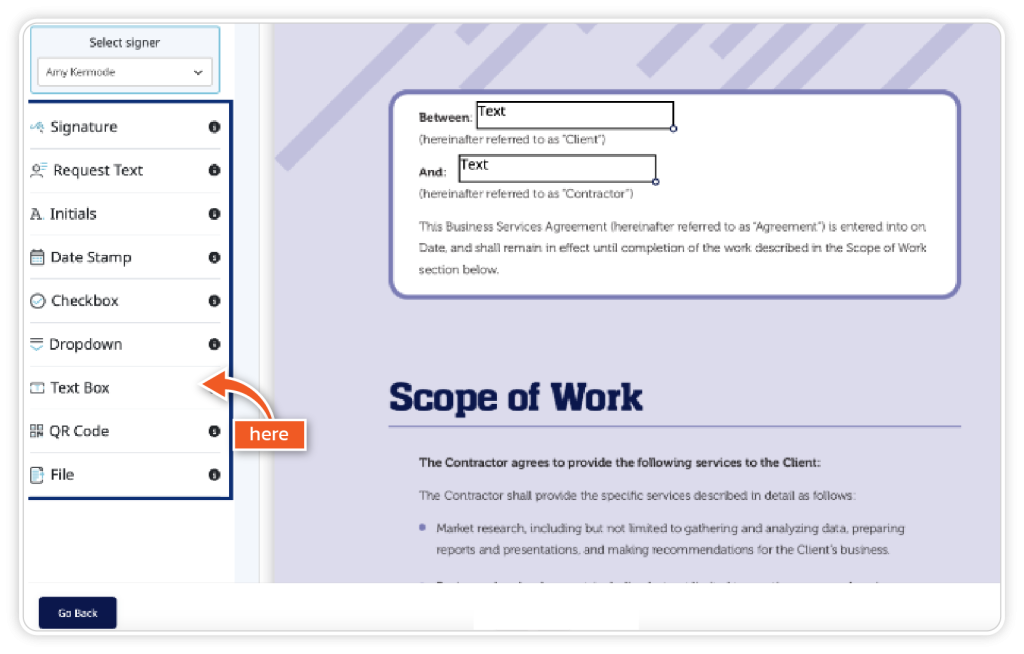
Step 5
Now you will be shown the document ready to edit. The document has built-in fields such as text boxes or signatures; however, these can be replaced with new fields as required. Drag and drop request text, text boxes, signature, initials, checkboxes and more to ensure that your document is created to your requirements.
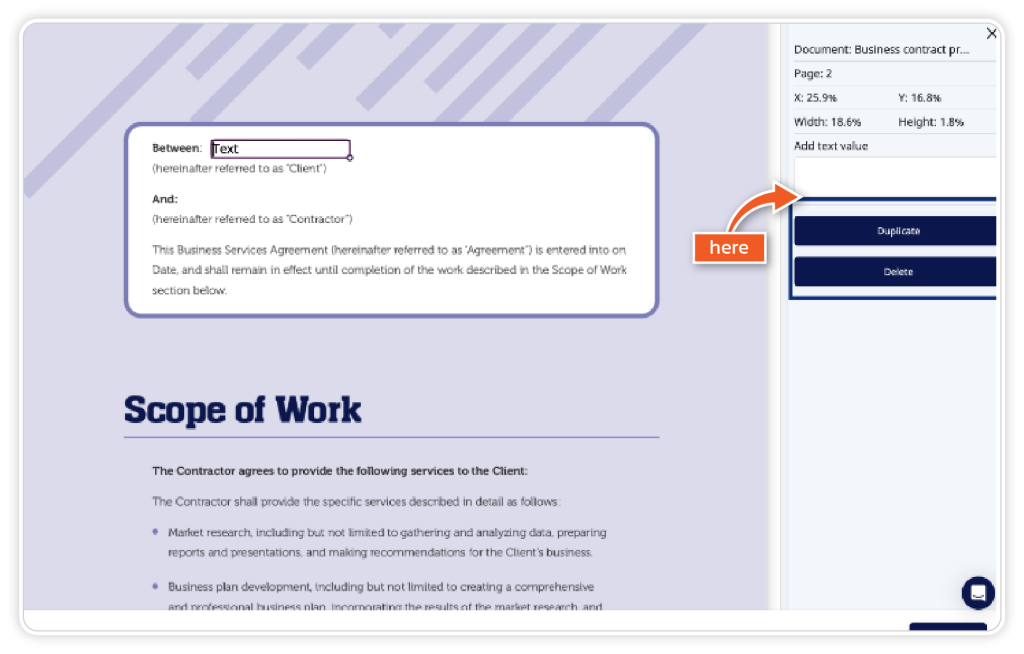
Step 6
To delete or duplicate a label on the document, simply click the label and choose from the options on the right-hand side of the dashboard.
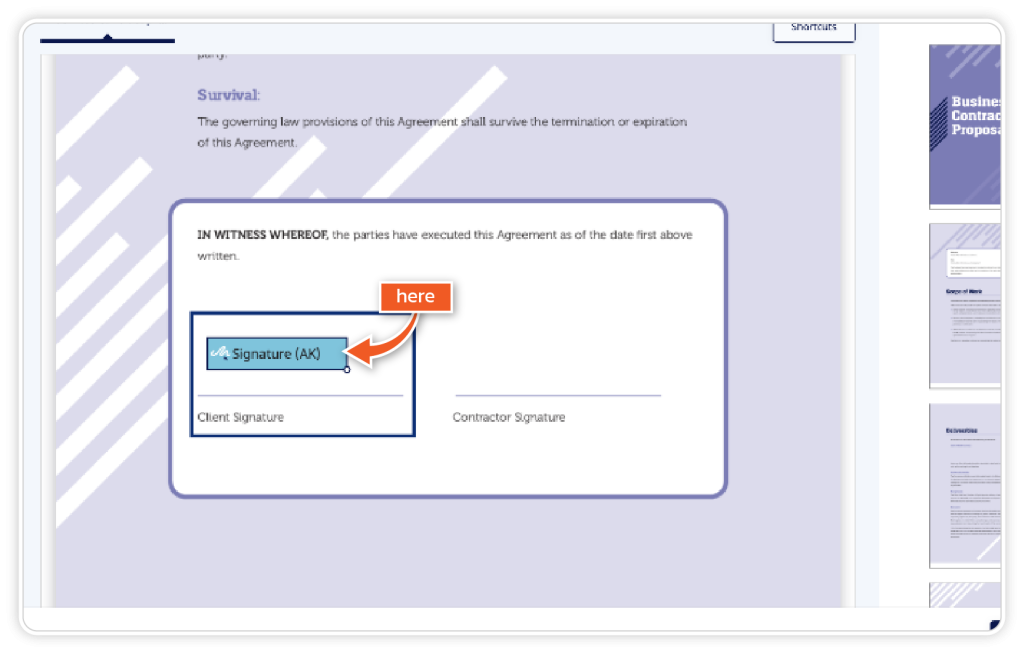
Step 7
You can alternate between each signature and place them in a specific area on the document by clicking and highlighting. Once the signer’s name is highlighted, drag and drop your signature field into the required place. Each signer will have their own highlighted colour so you can distinguish between them easily.
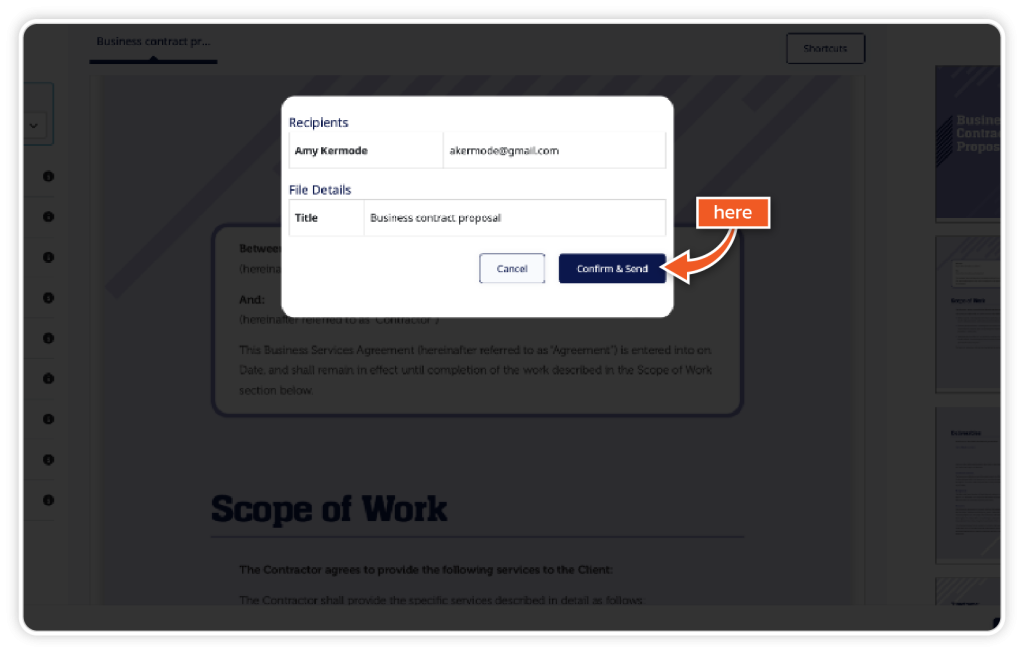
Step 8
Once you are happy with the document, click ‘Continue’, ensure the email is correct and then click ‘Confirm & Send’.