
This guide explains how to add a seal field to a document and how signers can upload their seal during signing.
1. Add a seal field when creating the envelope
When preparing your document:
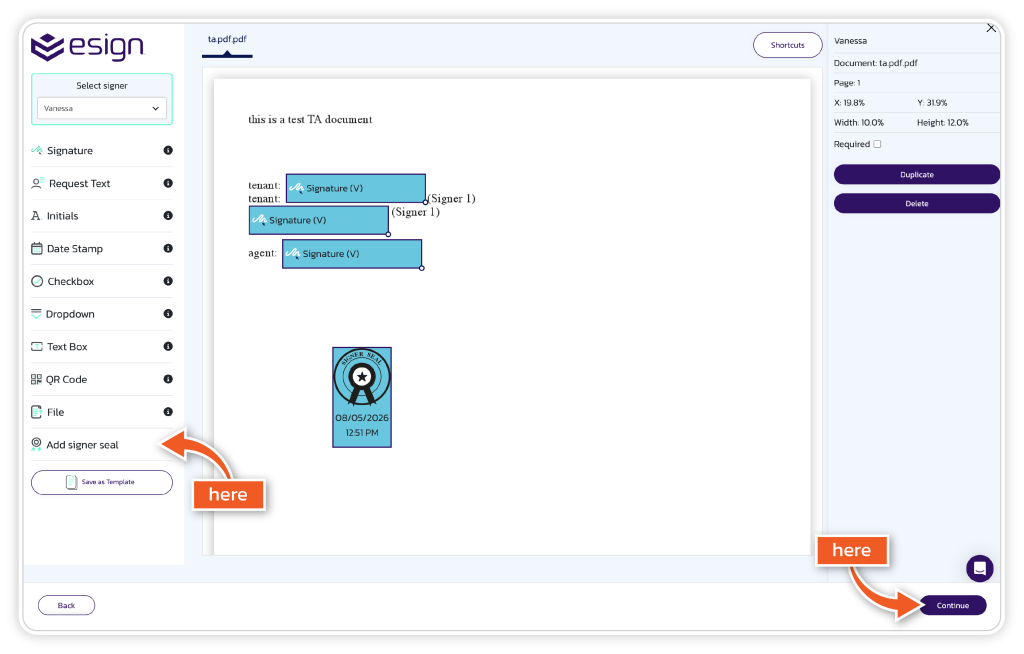
- In the left-hand panel, locate the “Add Signer Seal” field.
- Drag and drop the field onto the document where the seal should appear.
- Once complete, click Continue and send the envelope.
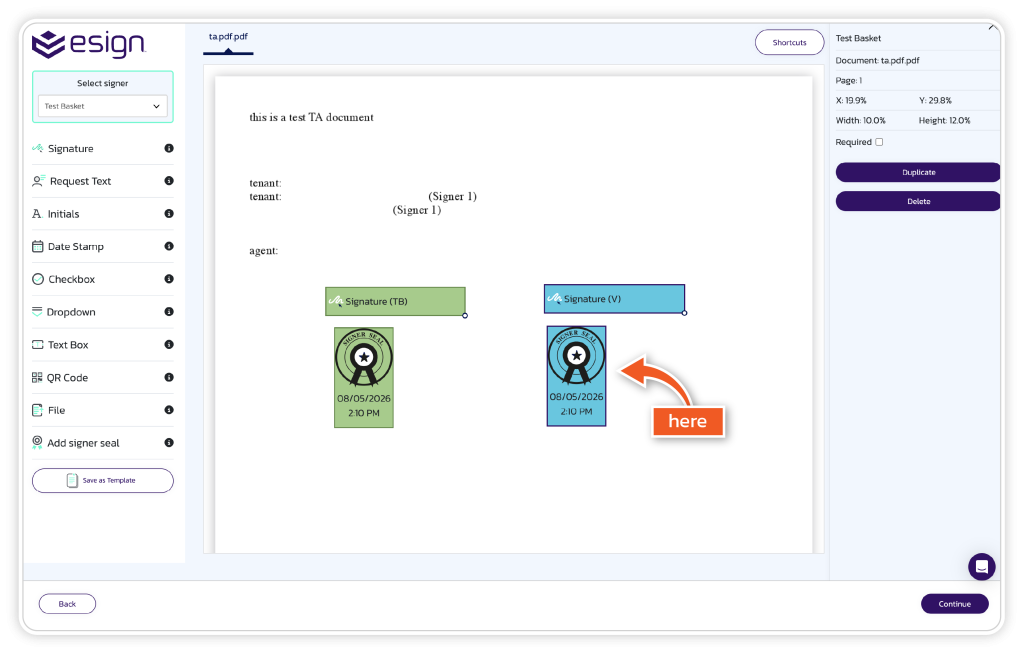
If there is more than one signer, a seal can be added for each signer, as shown in the image below.
2. Signer receives the document
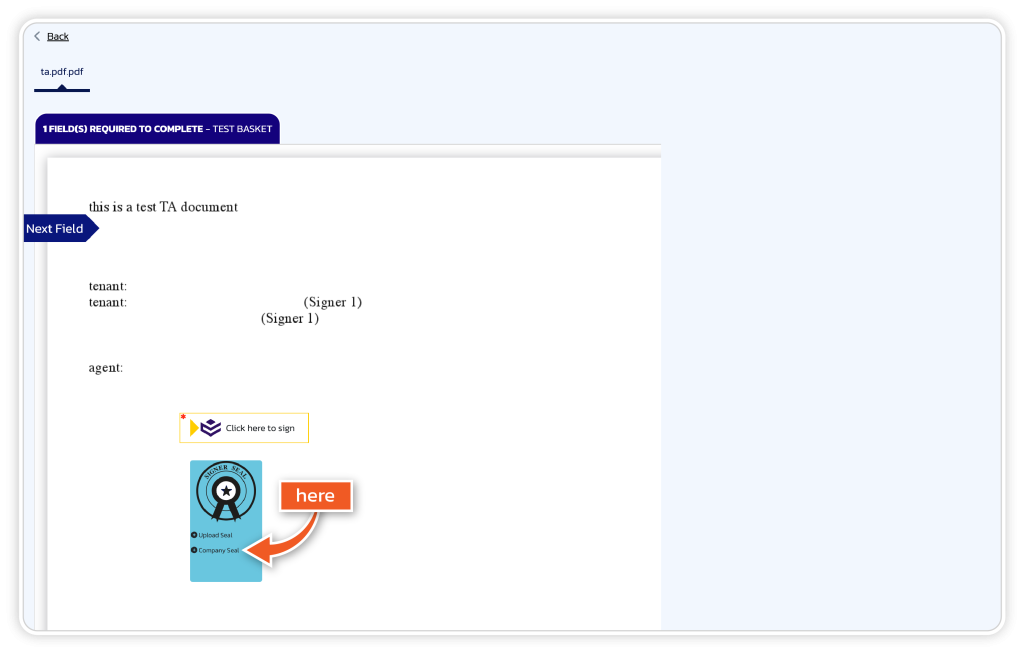
The signer will receive the envelope and open the document. They will see the designated seal field in the location you added.
3. Signer uploads a seal
To complete the field, the signer will:
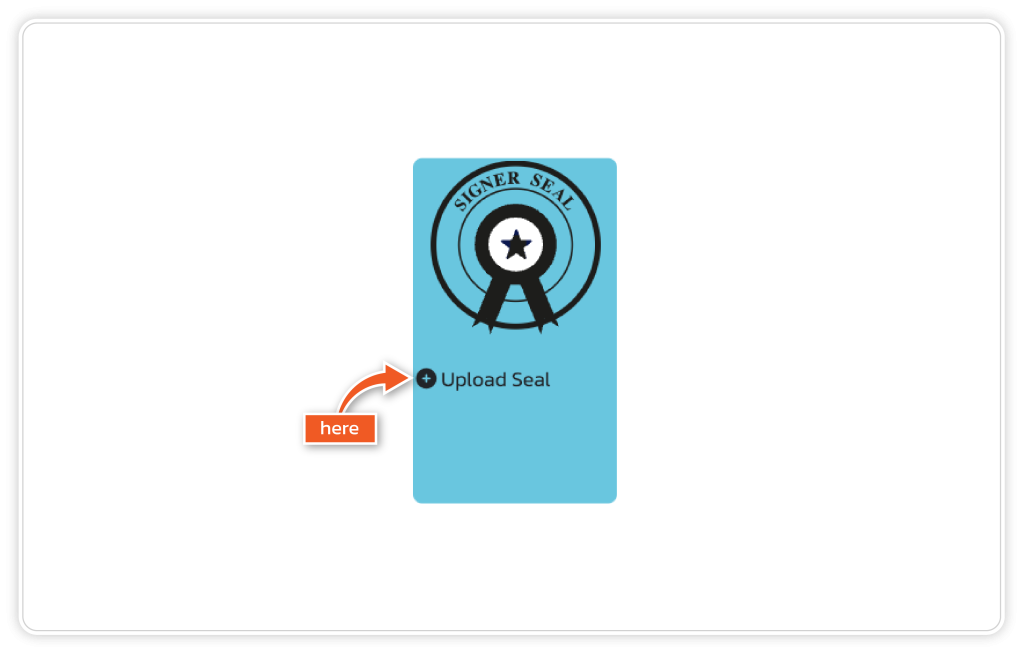
- Click on the seal upload area within the document.
- Upload their seal file (supported formats: PNG, JPG, JPEG).
Note:
- If the signer is an account admin, they will also see a “Company Seal” option.
- This allows them to use a seal that has already been configured within the account, without needing to upload a file.
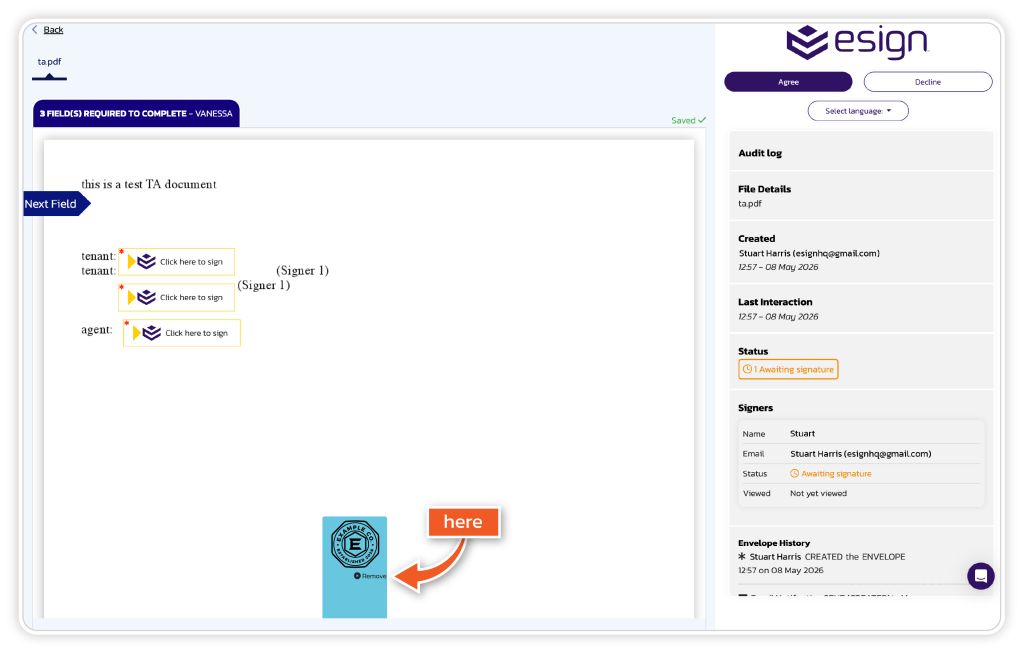
The seal will appear like shown above on the document.
4. Submit the document
Once the seal has been uploaded, the signer can proceed to complete and submit the document as usual.
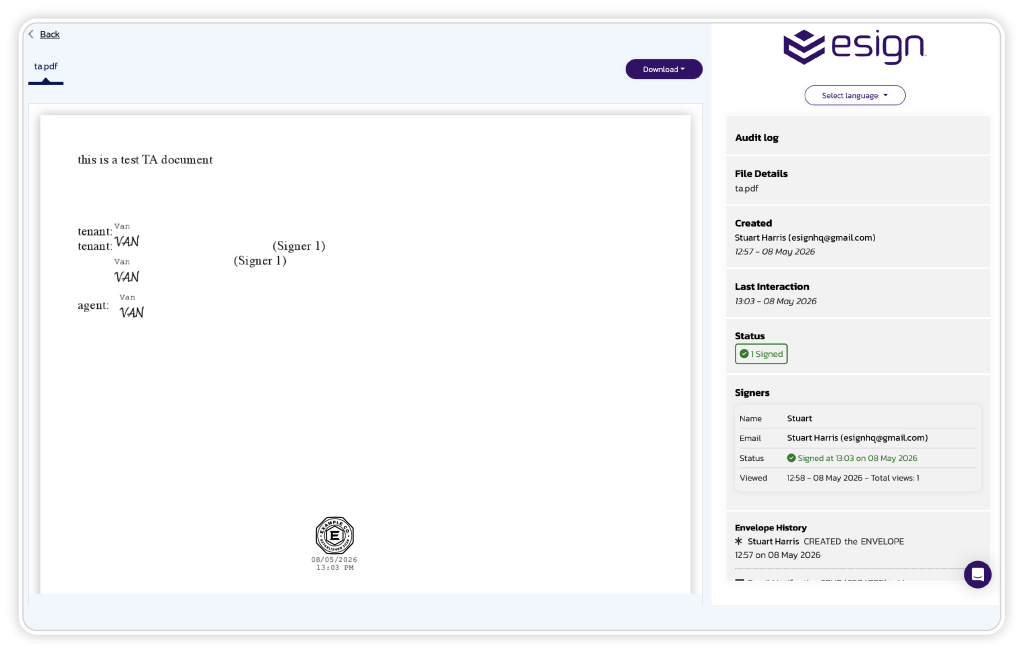
5. View the completed document and audit trail
After submission:
- The final document will reflect the completed seal alongside any other fields.
- The seal will appear in the document in the selected position.
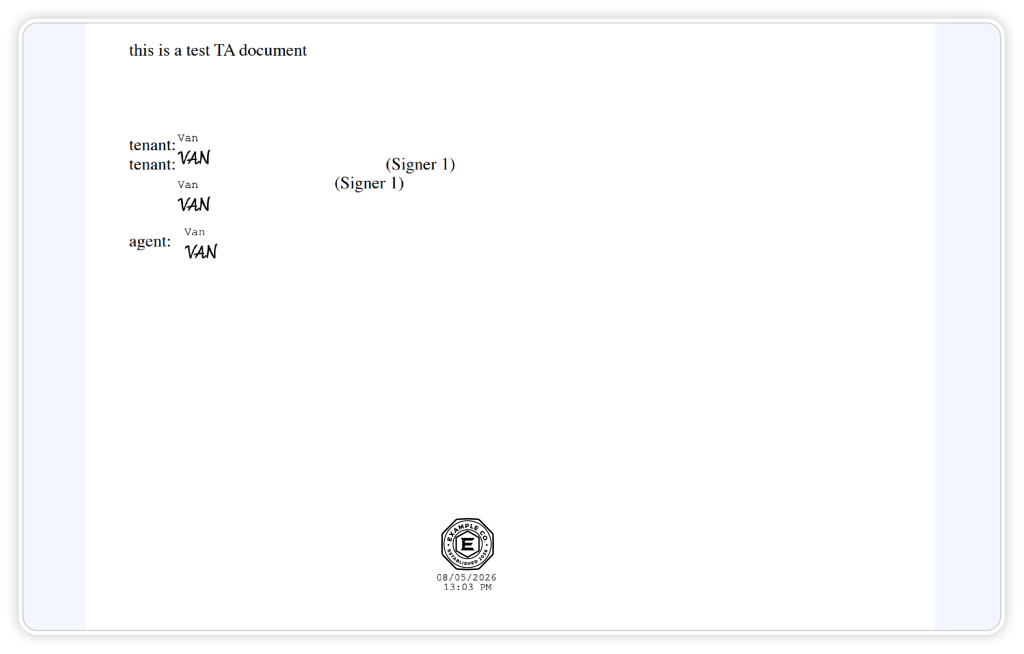
The completed document will include:
- A full audit trail confirming when the seal was applied
- The uploaded or selected seal
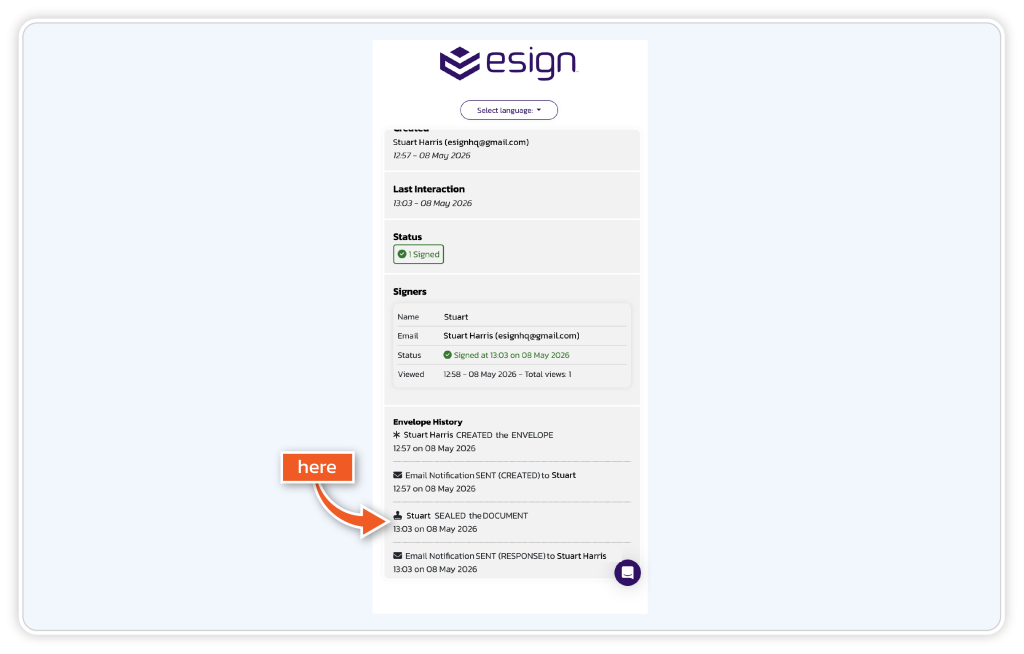
Best practice
- Ensure seal placement is clearly visible and correctly assigned to the intended signer.