
Data tags are available on Enterprise plans.
Add specially formatted text that can be positioned anywhere within the contents of your document, specifying multiple signers, the size, location and type of fields.
Step 1
From the dashboard, go to User Guides, the Add-ons category and then find the ‘Add data tags’ guide.

Step 2
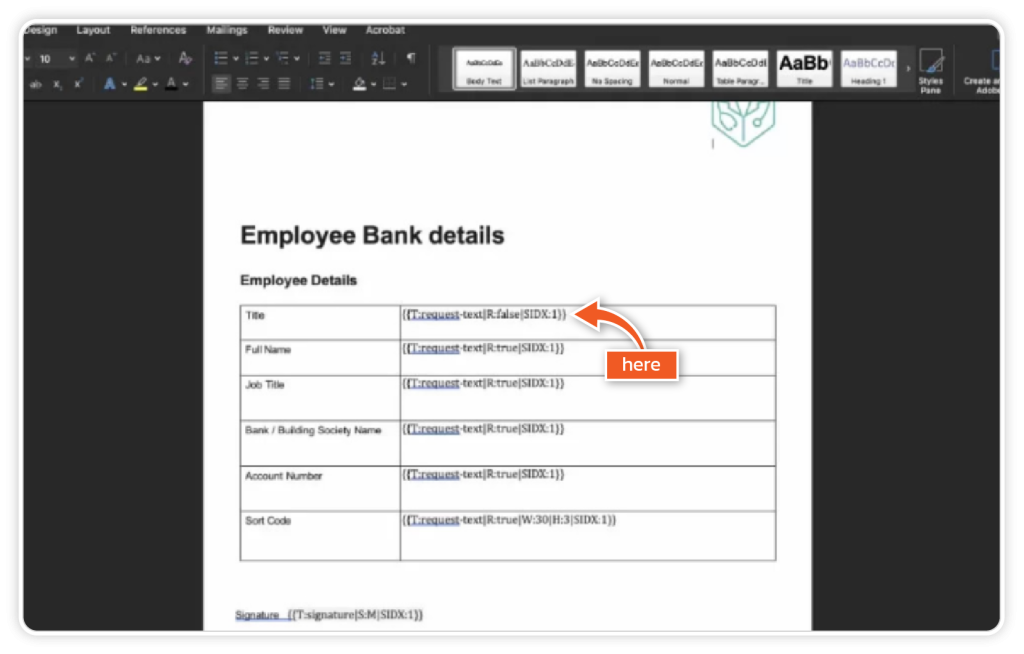
Open your document on your device and insert the data tags in the correct place. Save the document once completed. For every signer, add one number to the code. E.g.:
SIDX:1
SIDX:2
SIDX:3
Step 3
Upload the document to eSign for signing via ‘Get Started’ or ‘Library’.

Step 4
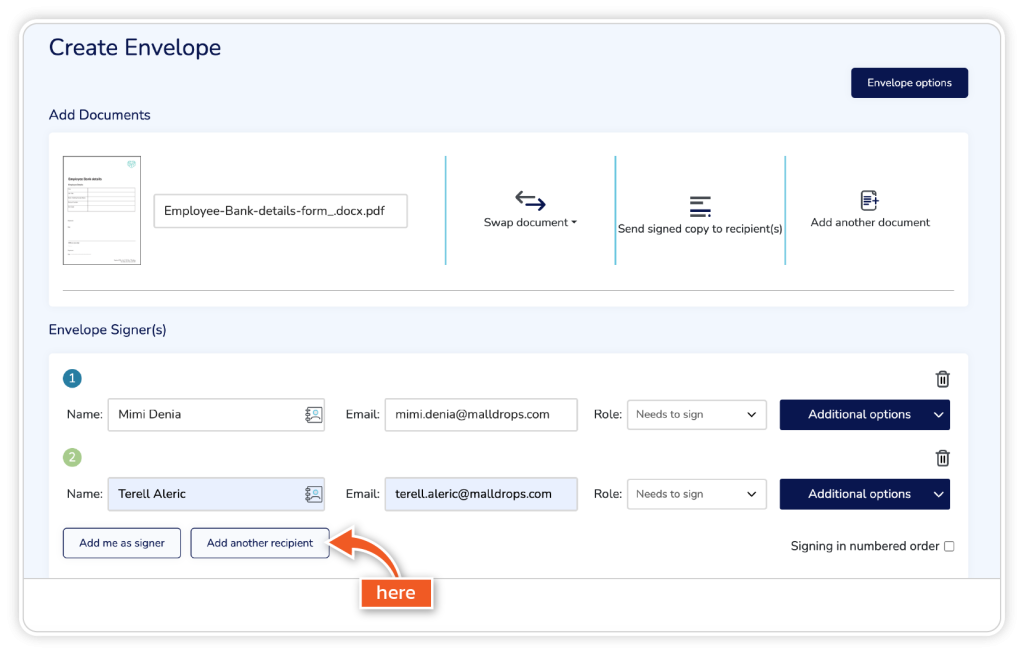
Add the number of recipients for how many signers you have in the Envelope Signer(s) section and click ‘Continue’.
Step 5
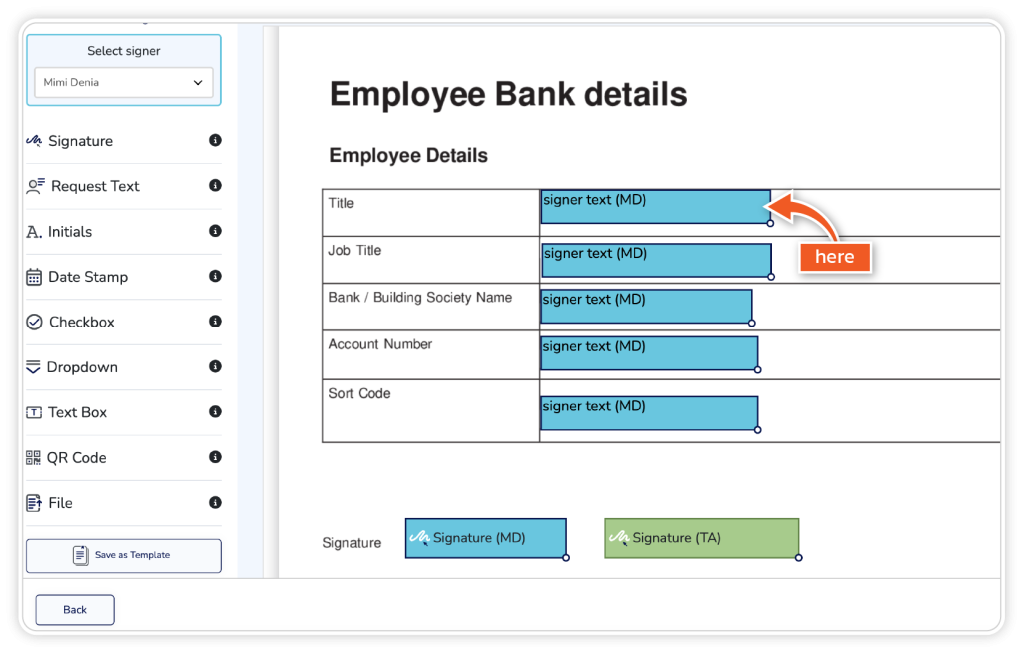
The data tags will be picked up and show the relevant fields in the document.
Data tag format examples
Data Tag: request-text
{{T:request-text|R:true|SIDX:1}}
{{T:request-text|R:false|SIDX:1}}
{{T:request-text|R:false|SIDX:2}}
{{T:request-text|R:true|W:30|H:3|SIDX:1}}
R = Required
SIDX = Signer
H = Height
W = Width
Data Tag: signature
{{T:signature|S:M|SIDX:1}} (Signer 1)
{{T:signature|S:M|SIDX:2}} (Signer 2)
The above examples will appear as a medium-sized signature.
Data Tag: add text
{{:add-text|W:30|H:3|TXT:}}
{{T:add-text|TXT:}}
H = Height
W = Width
Data Tag: checkbox
{{SIDX}}
{{SIDX|REQUIRED}}
Example: {{1}}
Example required: {{1|x}}
Note: A checkbox only takes the signer index and a mark to set as required as the parameters